Crack Ford V108.01 is verified working great with FORD VCM clone & original as well as VXDIAG Nano for Ford scanner. There are two optional crack Ford V108.01 for your need.
Reliable source:
Option 1: Multilingual Ford IDS V108.01 Full Software
Price: 66.99EUR
Serve online installation and activation
Ford VCM II clone … (Confirmed ok)
Ford VCM II original … (Confirmed ok)
VXDIAG NANO Ford IDS… (Confirmed ok)
working flawlessly on win xp /7 32 64 bits with VCMII clone or original, and features in online programming.
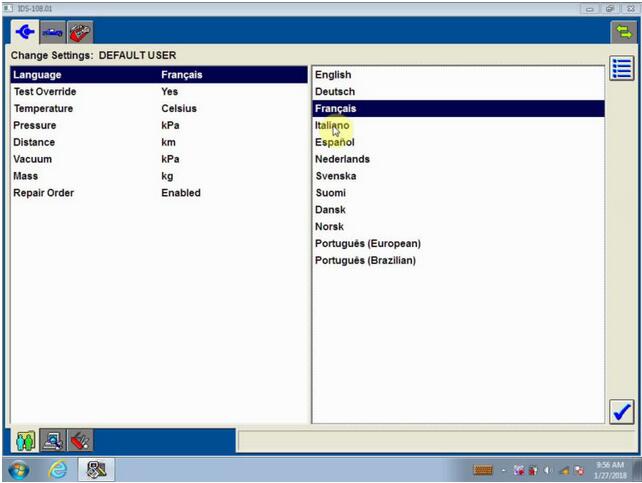
Multi Language available: English, French, Spanish, Italian, Polish, Portuguese etc.
Ford IDS V108.01 Installation & activation:
After you complete payment, the supplier will help installation & activation with TeamViewer.
Functions to be achieved:
V108.01 IDS is able to download the latest calibration/software files
from ford’s server if your internet connection is available at the time
of connecting to vehicles. (Confirmed)
Read and decode fault codes (Confirmed)
Delete fault codes (Confirmed)
Display the system current parameters in digital form (Confirmed)
Combined displaying of data (Confirmed)
Logs Keeping: writing and keeping of digital parameters in memory (Confirmed)
Special functions: changing of permissible setting of blocks, programming etc. (Confirmed)
Option 2: Ford V108.01 (No need activation)
Price: 24.99EURO
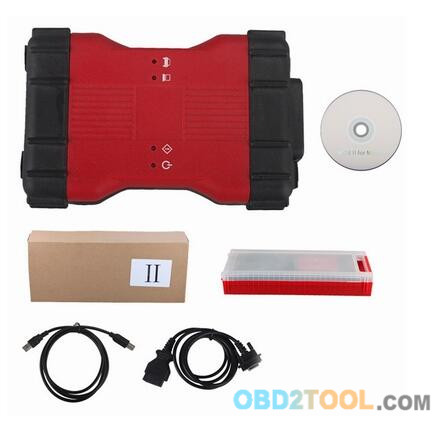
Ship 2pcs of CD (4.7GB/per piece)
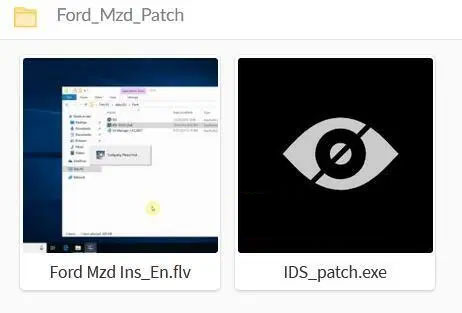
Install by yourself with installation video demo (Or via remote assistance if any problem)
No need to active
Tested ok on WIN7 (you could try win8 win 10)
Verified working fine with VCMII clone / original as well as VXDIAG NANO for Ford.
Multilanguage available

Ford V108.01 installation (need no activation)
Tip
1: Before installation, please backup the important files on the
desktop and disk C, because the next operation will cover the content in
the disk C.
Tip 2:
1). If your computer hard drive only has
one partition, please prepare a 16GB U flash drive. 2). If has 2
partitions, please unzip the software of CD into any other partition
except disk C.
Procedure:
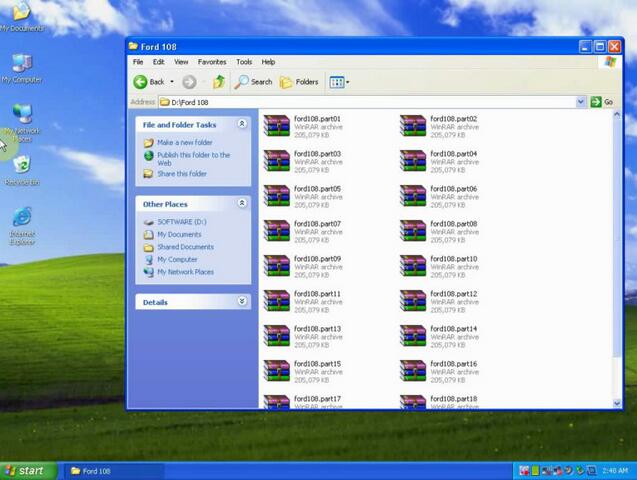
Open disk D and
create a new folder “Ford V108”, then open CD-ROM to copy all files and
paste them into the new folder “Ford V108”.


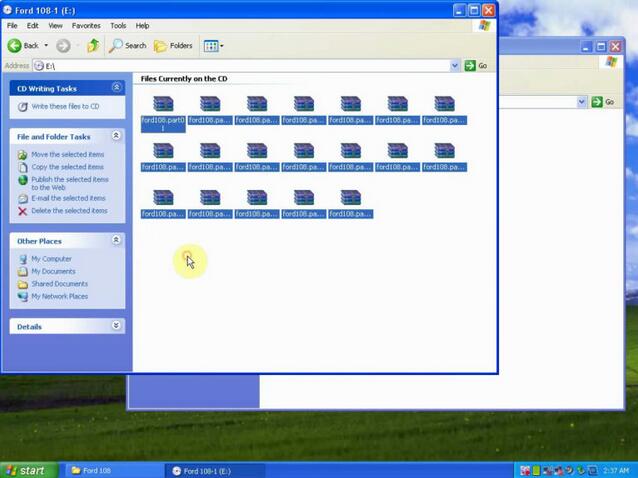
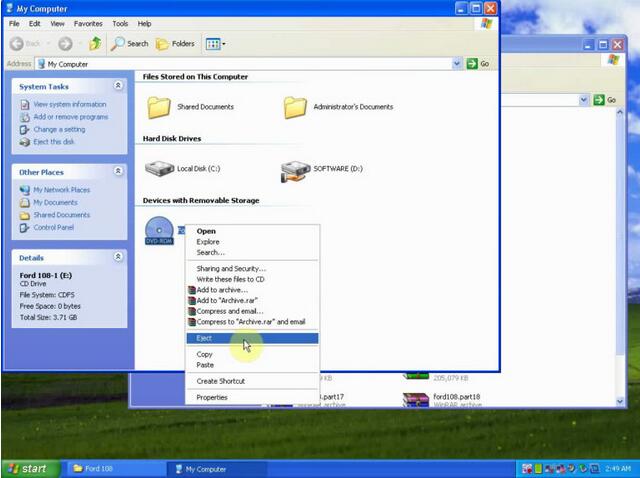
Right-click the Ford V108 disk (E:) then select “Eject”.

Again open the CD-ROM disk (E:) and copy all files and paste them into the disk D new folder “Ford V108”.
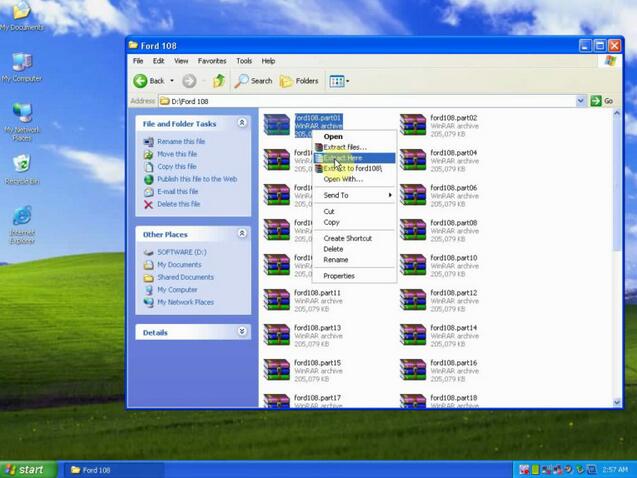
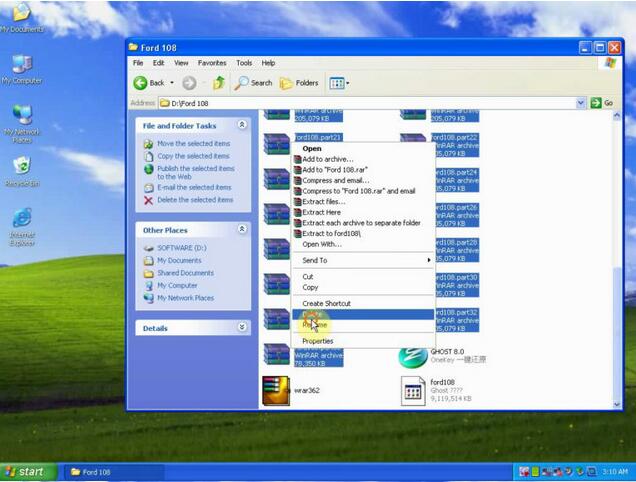
Open disk D: Ford 108, right click “Ford 108. part01” and select “Extract here”.
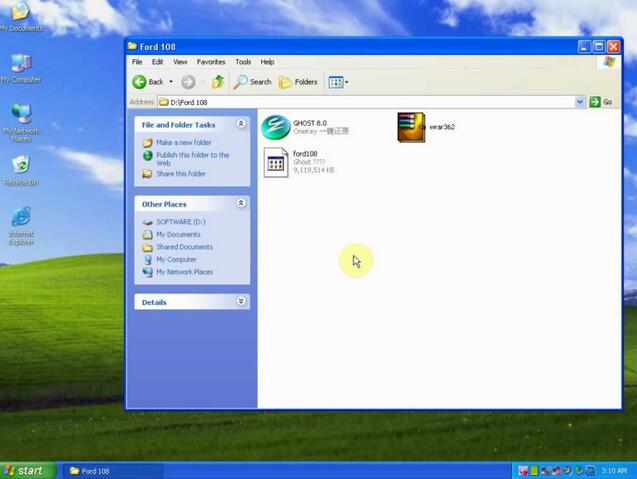
Choose all of “Ford 108. part01 to “Ford 108. part33” and delete them, then left the following 3 ones.


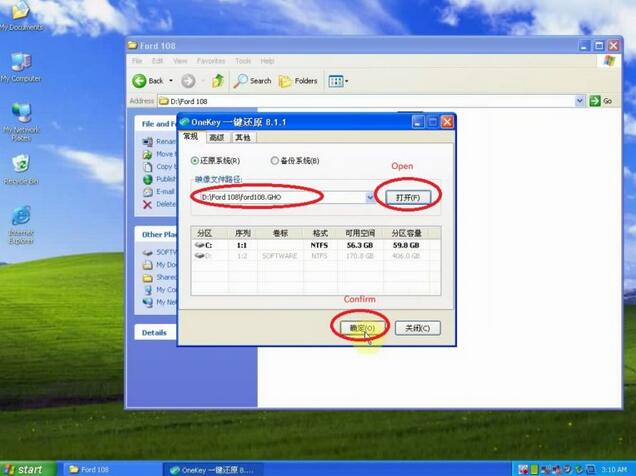
Open “Ghost 8.0”.
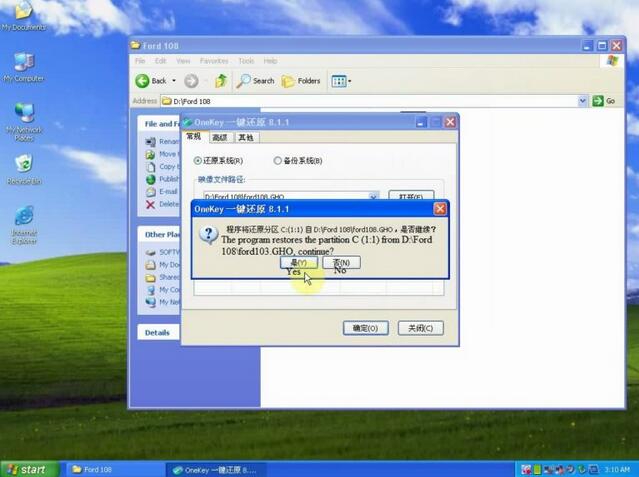
Open “D:\Ford 108\ford103.GHO” , click on “Confirm” and “Yes” to agree
the program to restore the partition C (1:1) from D:\Ford
108\ford103.GHO.


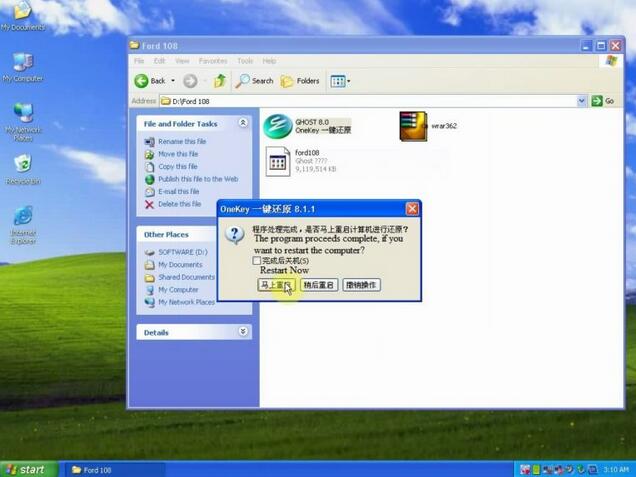
The program proceeds complete, if you want to restart the computer?
Click the first option “Restart now”

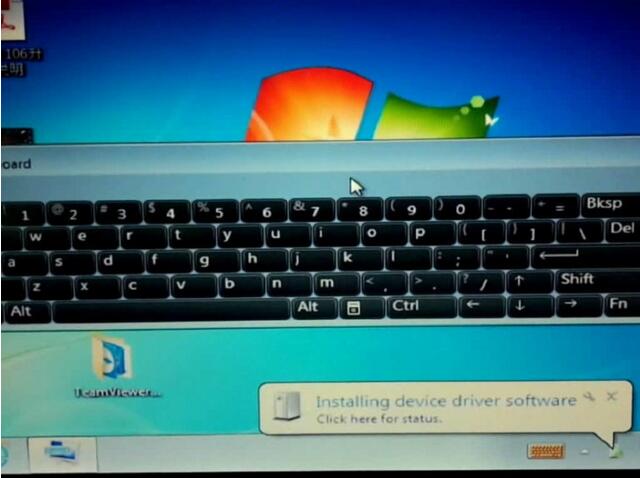
Installation device driver software.

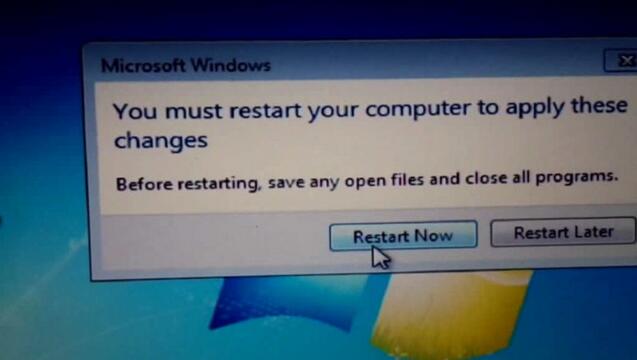
Restart computer now.

Reset the screen resolution according to your computer need.
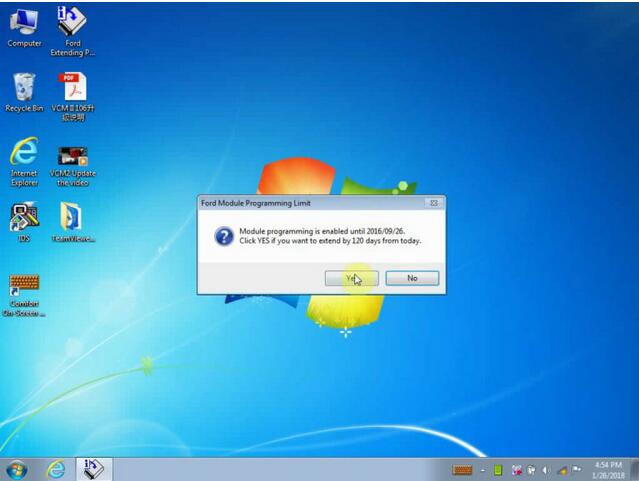
Right click “Ford Extending Programming” then click on “Run as administrator”.
Get message “Module programming is enabled until 2016/09/25. Click YES if you want to extend by 120 days from today.”
Click yes.

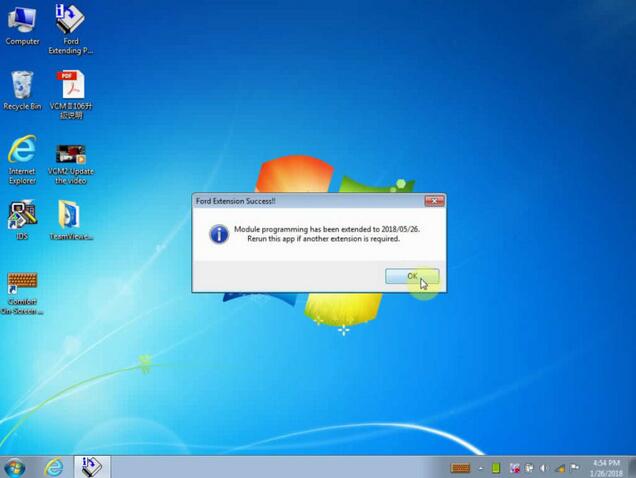
Get message ” Module programming has been extended to 2018/05/26. Return this app if another extension is required. Click “OK”.

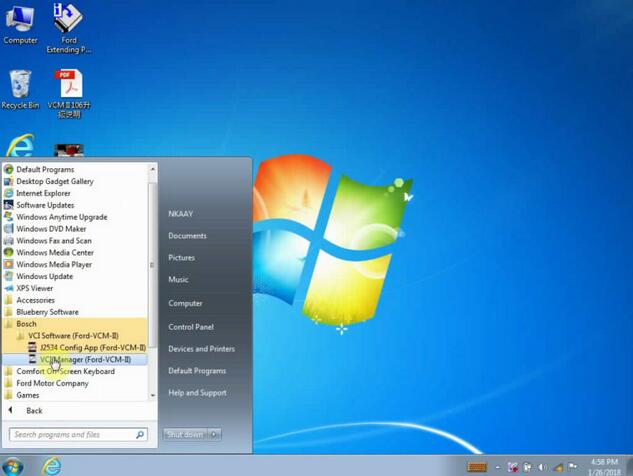
Click on “Start” on the desktop, then “All programs”, then Bosch and find “VCI Manager (Ford VCM II)

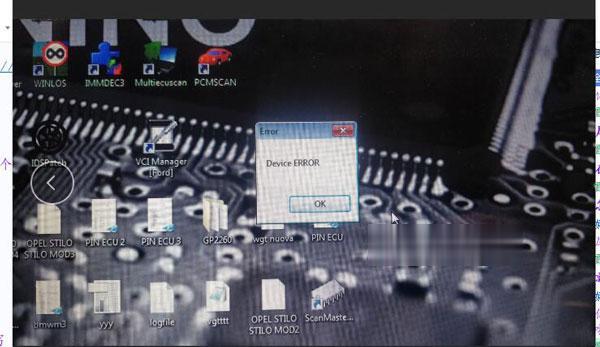
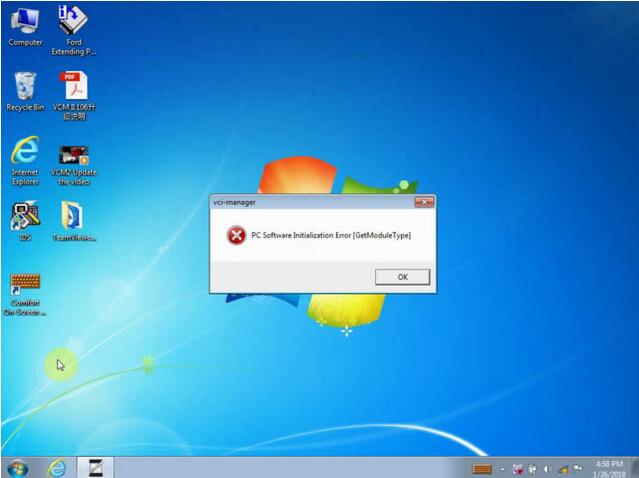
Get message “PC Software initialization error (GetModule Type), click “OK”

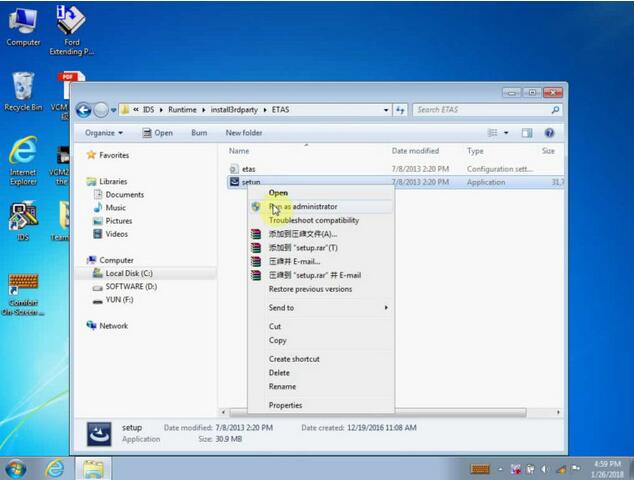
Open
“Computer – Local Disc (C:) – Program Files – Ford Motor Company – IDS –
Runtime- Install3rdparty – ETAS – right click on “Setup” then “Run as
administrator”.

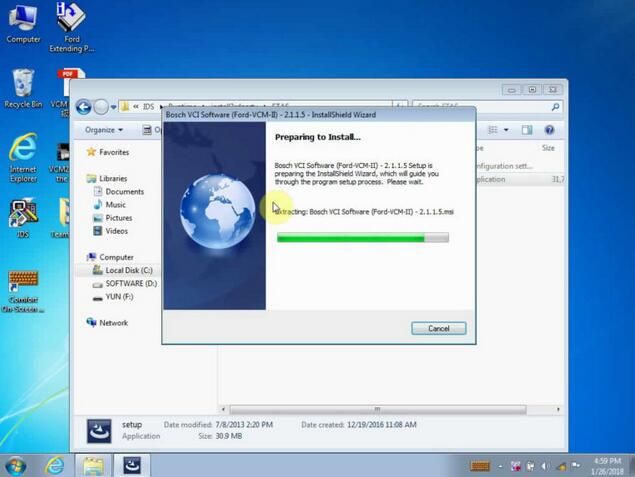
Bosch VCI software (Ford VCM II) setup


Again right click on “Setup” then “Run as administrator”.
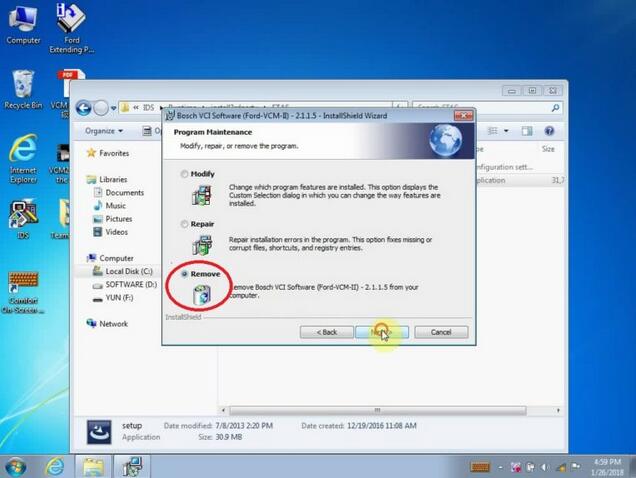
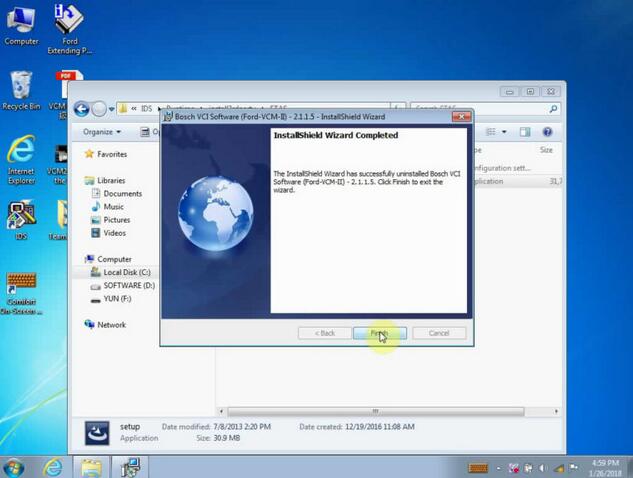
Click NEXT until you see Bosch VCI software (Ford VCM II) InstallShield Wizard completed.

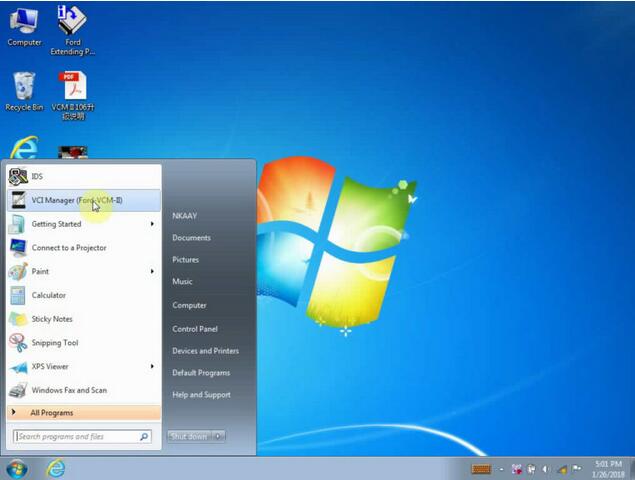
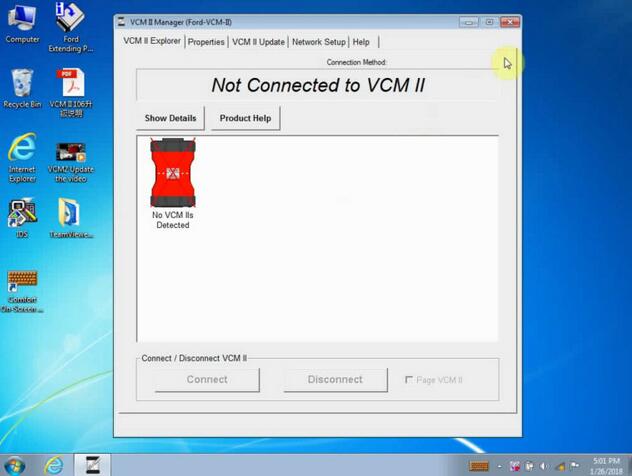
Click on the desktop “Start” then “VCI Manager (Ford – VCM -II)”

Get message “Not connected to VCM II”

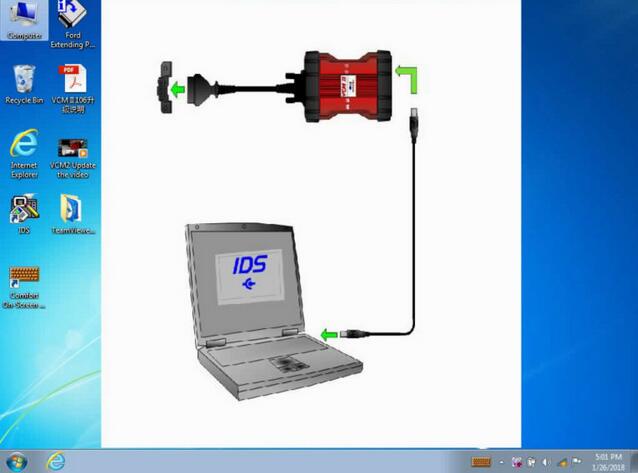
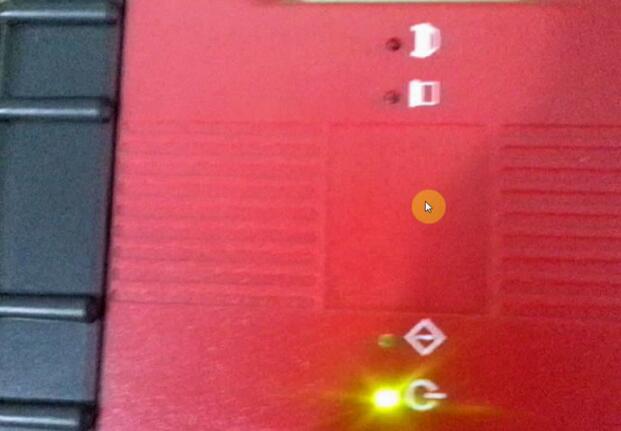
Exit and connect VCMII interface to the computer and the Ford model by following the below diagram.

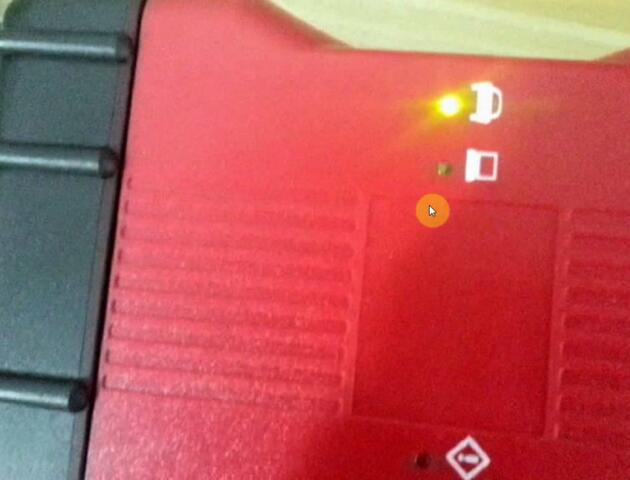
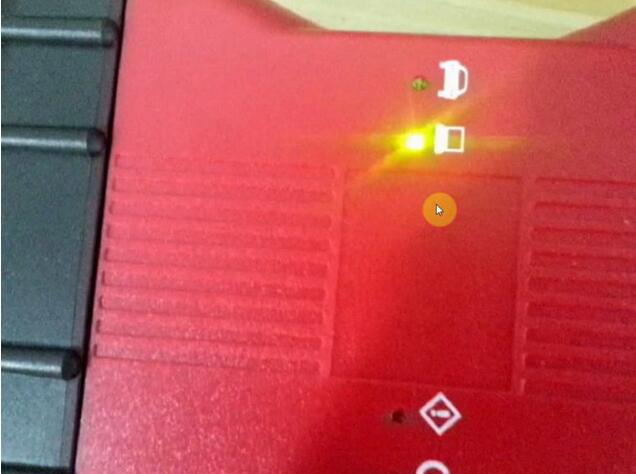
The two indicator flash.


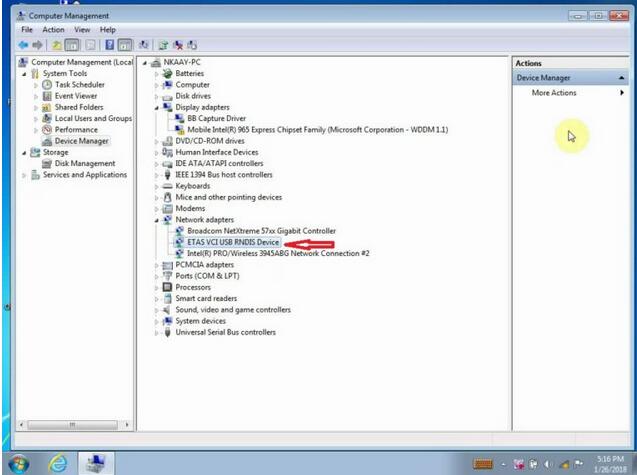
Right
click “Computer ” – “Manage” – “Device Manager” , you can see “ETAS VC I
USB RNDIS Device”, that means the VCMII communicates a good
communication with the computer.

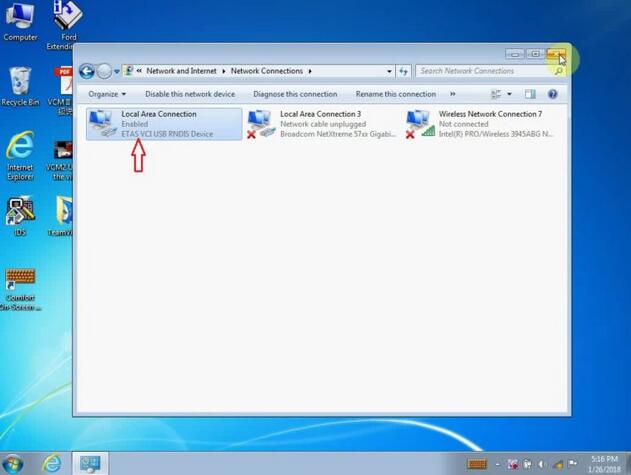
Click “Open Network and shared Center”, then “Change Adapter Setting”, Local area connection is enabled.


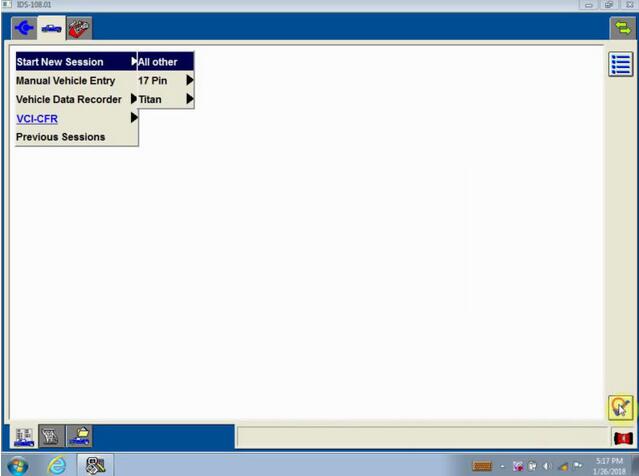
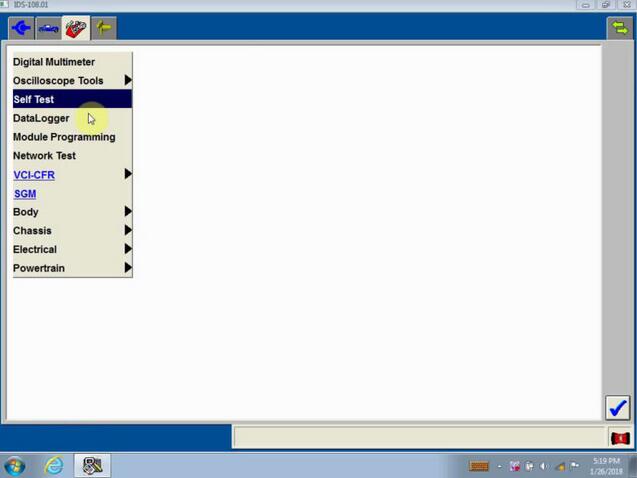
Open “IDS”
Click on “Start New Session” then “All other” and “√”

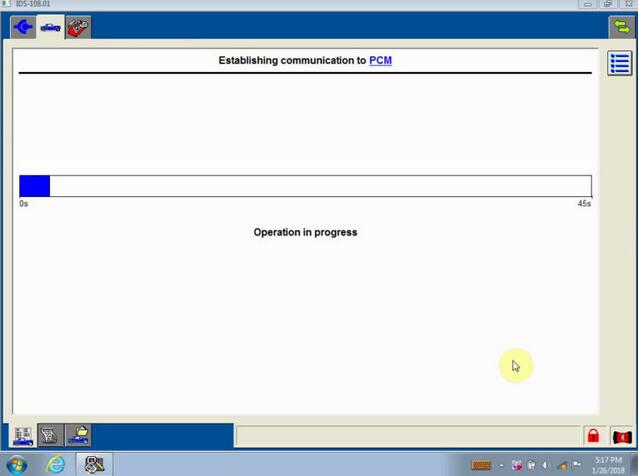
Establishing communication to PCM.

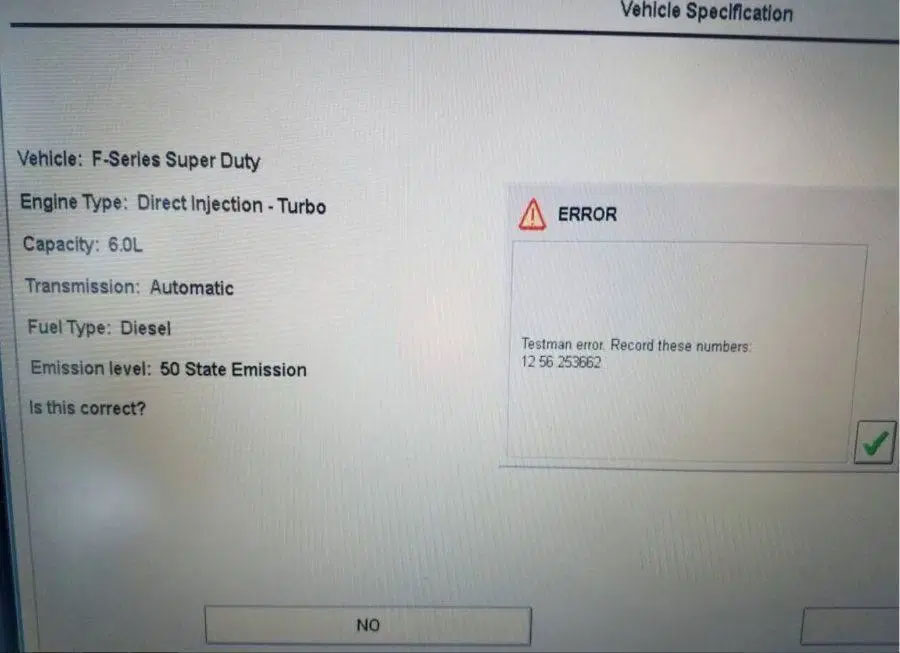
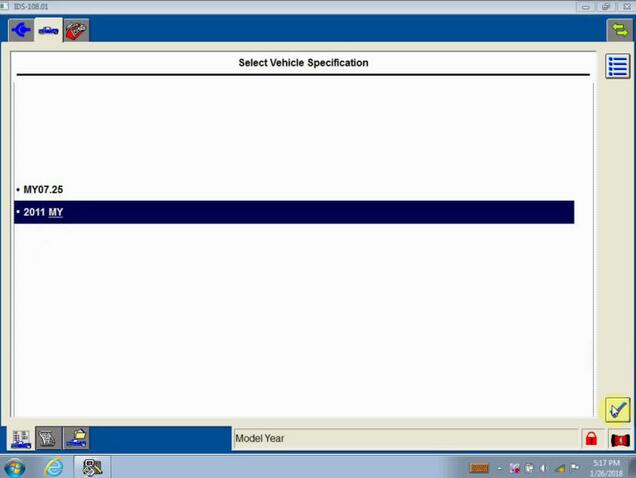
Select vehicle specification.

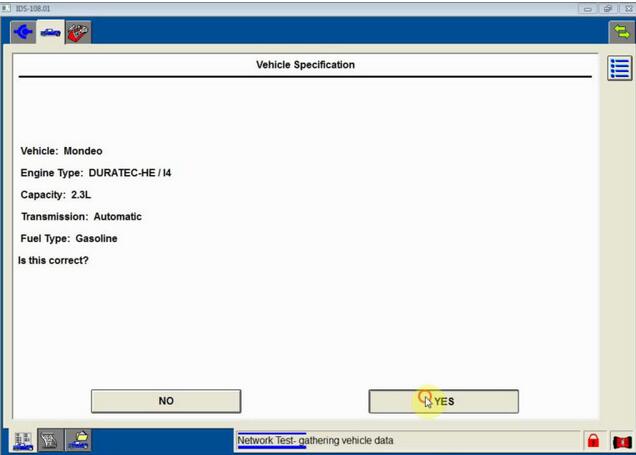
If the vehicle specification is correct, click “Yes”.


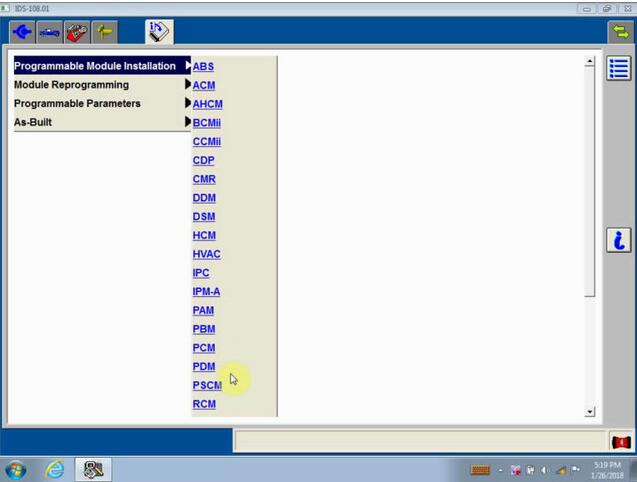
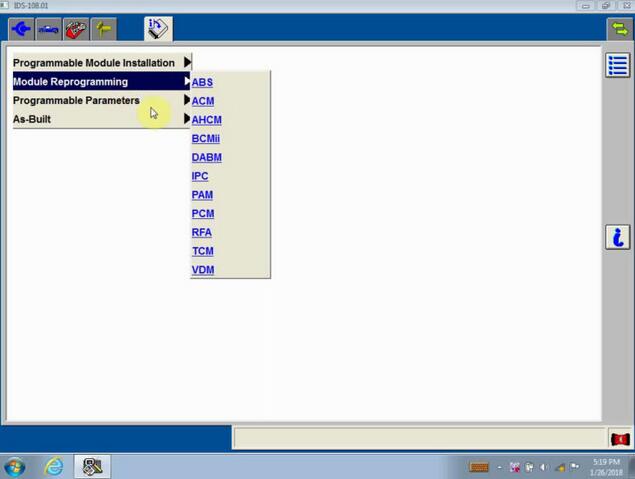
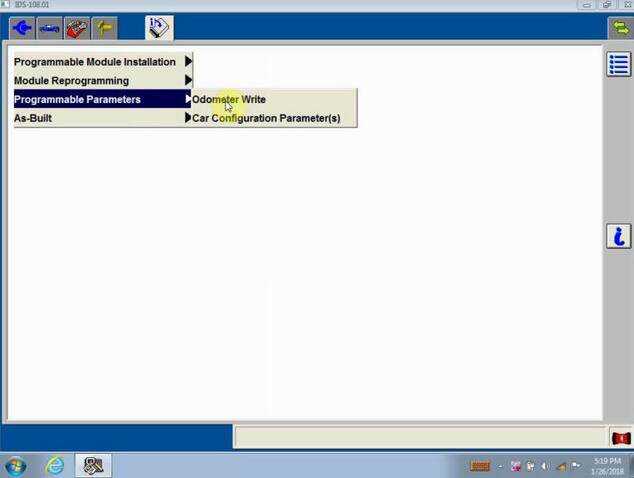
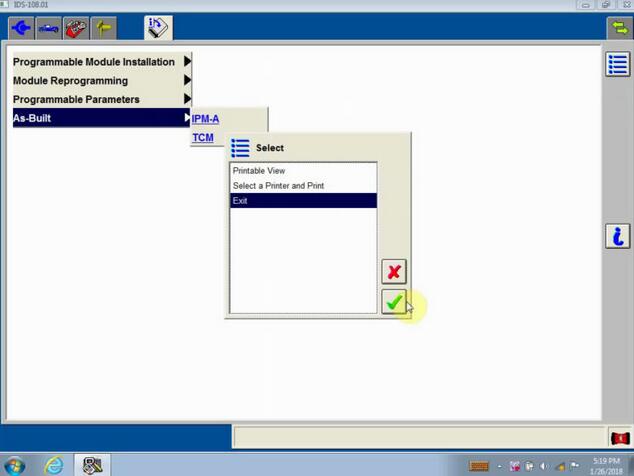
Module Programming.

Programmable Module Installation.

Module Reprogramming on…

Programmable Parameters

As – Built

Exit

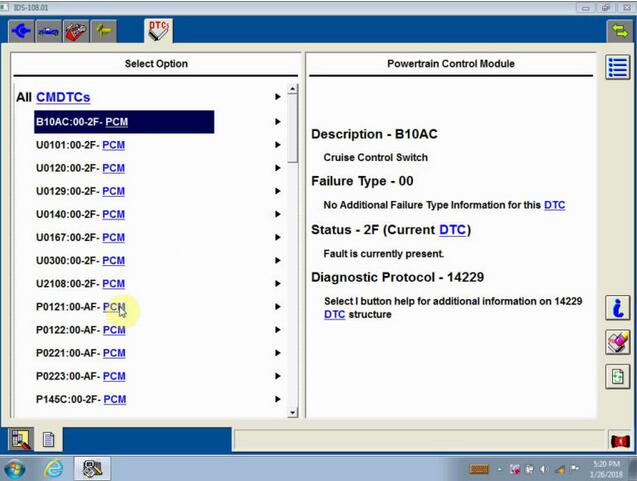
Self test – All CMDTCs

Read DTCs…
Go on operating Ford VCM…